海纳百川无所不容,Win10环境下使用Docker容器式部署前后端分离项目Django+Vue.js

随着现代化产品研发的不断推进,我们会发现,几乎每个产品线都会包含功能各异的服务,而且服务与服务之间存在也会存在着错综复杂的依赖和被依赖关系,这就会带来一个世界性难题,项目部署的时候需要运维来手动配制服务之间通信的协议和地址,稍有不慎就会导致服务异常,同时如果服务器因为坏道或者其他原因导致更换物理机,重新部署新环境的成本也会非常之高。因此,我们就会寄希望于Docker这种的容器技术可以让我们构建产品所需要的所有的服务能够迅速快捷的重新部署,并且可以根据需求做横向扩展,且能够保证稳定的容灾性,在出现问题的时候可以利用守护进程自动重启或者启动容灾备份。
本次我们将在Win10环境下利用Docker容器技术来对前后端分离项目Django+Vue.js进行打包,分别定制化对应的项目镜像,应对快速部署以及高扩展的需求。
首先当然是安装Docker,可以参照这篇视频攻略:win10安装配置Docker并更换国内源。
随后在宿主机安装gunicorn,容器内我们用异步的方式来启动Django
pip3 isntall gunicorn geventDjango项目配置settings.py对应的应用:
# Application definition

INSTALLED_APPS = [
    'django.contrib.admin',
    'django.contrib.auth',
    'django.contrib.contenttypes',
    'django.contrib.sessions',
    'django.contrib.messages',
    'django.contrib.staticfiles',
    'corsheaders',
    'rest_framework',
    'myapp',
    'dwebsocket',
    'gunicorn'
]
然后在Django项目的根目录编写gunicorn的配置文件:gunicorn.conf.py
import multiprocessing

bind = "0.0.0.0:8000"   #绑定的ip与端口
workers = 1                #进程数
这里注意一点,ip必须是0.0.0.0,不要写成127.0.0.1,否则外部环境会访问不到容器内的服务,接下来在项目的根目录编写好依赖列表:requirements.txt
Django==2.0.4
django-cors-headers==2.5.3
djangorestframework==3.9.3
celery==4.4.2
dwebsocket==0.5.12
redis==3.3.11
pymongo==3.8.0
PyMySQL
Pillow
pyjwt
pycryptodome
selenium
qiniu
gunicorn
gevent
这里需要注意的是,某些依赖的库最好用==标注出小版本,因为一会在容器内通过pip安装的时候,系统有可能会自动帮你安装最新版导致一些依赖报错。
下面就是老套路,在根目录编写DockerFile文件:
FROM python:3.7
WORKDIR /Project/mydjango

COPY requirements.txt ./
RUN pip install -r requirements.txt -i https://pypi.tuna.tsinghua.edu.cn/simple

COPY . .
ENV LANG C.UTF-8

CMD ["gunicorn", "mydjango.wsgi:application","-c","./gunicorn.conf.py"]
本次的基础镜像我们选择3.7,毕竟2020年了,与时俱进还是很必要的。
ok,万事俱备,运行命令对项目进行打包:
liuyue@DESKTOP-NVU6CCV MINGW32 ~/www/mydjango (master)
$ docker build -t 'mydjango' .
Sending build context to Docker daemon  17.57MB
Step 1/7 : FROM python:3.7
 ---> 5b86e11778a2
Step 2/7 : WORKDIR /Project/mydjango
 ---> Using cache
 ---> 72ebab5770a2
Step 3/7 : COPY requirements.txt ./
 ---> Using cache
 ---> b888452d1cad
Step 4/7 : RUN pip install -r requirements.txt -i https://pypi.tuna.tsinghua.edu.cn/simple
 ---> Using cache
 ---> a576113cff5a
Step 5/7 : COPY . .
 ---> 5c5247d5a743
Step 6/7 : ENV LANG C.UTF-8
 ---> Running in af84623622a6
Removing intermediate container af84623622a6
 ---> f3d876487dab
Step 7/7 : CMD ["gunicorn", "mydjango.wsgi:application","-c","./gunicorn.conf.py"]
 ---> Running in d9392807ae77
Removing intermediate container d9392807ae77
 ---> c3ffb74ae263
Successfully built c3ffb74ae263
Successfully tagged mydjango:latest
SECURITY WARNING: You are building a Docker image from Windows against a non-Windows Docker host. All files and directories added to build context will have '-rwxr-xr-x' permissions. It is recommended to double check and reset permissions for sensitive files and directories.
这里注意一点就是要进入到项目的目录下执行
docker build -t 'mydjango' .这里我的项目目录是mydjango。
第一次打包编译的时候,可能时间会长一点,耐心等一会就可以了,如果中途遇到网络错误导致的失败,反复执行打包命令即可,此时运行命令:
docker images可以看到编译好的镜像大概有1g左右:
liuyue@DESKTOP-NVU6CCV MINGW32 ~
$ docker images
REPOSITORY          TAG                 IMAGE ID            CREATED             SIZE
mydjango            latest              c3ffb74ae263        24 hours ago        1.04GB
随后启动镜像服务:
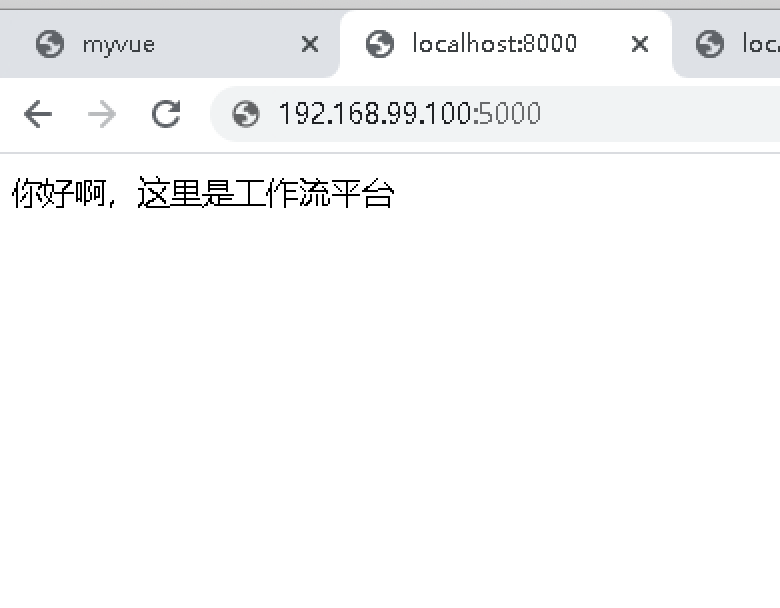
docker run -it --rm -p 5000:8000 mydjango这里我们用端口映射技术将宿主机的5000端口映射到容器内的8000端口,访问Django服务,http://容器ip:5000
后端搞定,接下来轮到我们的前端服务vue.js了,首先打开vue项目的打包配置文件config/index.js:
build: {
    // Template for index.html
    index: path.resolve(__dirname, '../dist/index.html'),

    // Paths
    assetsRoot: path.resolve(__dirname, '../dist'),
    assetsSubDirectory: 'static',
    assetsPublicPath: './',

    /**
     * Source Maps
     */

    productionSourceMap: true,
    // https://webpack.js.org/configuration/devtool/#production
    devtool: '#source-map',

    // Gzip off by default as many popular static hosts such as
    // Surge or Netlify already gzip all static assets for you.
    // Before setting to `true`, make sure to:
    // npm install --save-dev compression-webpack-plugin
    productionGzip: false,
    productionGzipExtensions: ['js', 'css'],

    // Run the build command with an extra argument to
    // View the bundle analyzer report after build finishes:
    // `npm run build --report`
    // Set to `true` or `false` to always turn it on or off
    bundleAnalyzerReport: process.env.npm_config_report
  }
}
将打包目录改成相对路径,同时注意路由的配置,如果曾经修改为history模式记得改回hash:
export default new Router({
  routes:routes,
  //mode:'history'   /*hash*/
})
准备工作完毕,在vue的项目根目录下编写Dockerfile:
FROM node:lts-alpine

# install simple http server for serving static content
RUN npm install -g http-server

# make the 'app' folder the current working directory
WORKDIR /app

# copy both 'package.json' and 'package-lock.json' (if available)
COPY package*.json ./

# install project dependencies
RUN npm install

# copy project files and folders to the current working directory (i.e. 'app' folder)
COPY . .

# build app for production with minification
RUN npm run build

EXPOSE 8080
CMD [ "http-server", "dist" ]
这里我们选择体积更小的alpine镜像。
随后进入项目的根目录,执行打包命令:
docker build -t myvue .这里我的前端目录是myvue
liuyue@DESKTOP-NVU6CCV MINGW32 ~/www/myvue (master)
$ docker build -t myvue .
Sending build context to Docker daemon  202.1MB
Step 1/9 : FROM node:lts-alpine
lts-alpine: Pulling from library/node
cbdbe7a5bc2a: Pull complete
4c504479294d: Pull complete
1e557b93d557: Pull complete
227291017118: Pull complete
Digest: sha256:5a940b79d5655cc688cfb319bd4d0f18565bc732ae19fab6106daaa72aeb7a63
Removing intermediate container 5317abe3649b
 ---> 2ddb8a0e3225
Successfully built 2ddb8a0e3225
Successfully tagged myvue:latest
SECURITY WARNING: You are building a Docker image from Windows against a non-Windows Docker host. All files and directories added to build context will have '-rwxr-xr-x' permissions. It is recommended to double check and reset permissions for sensitive files and directories.
系统会自动根据脚本进行安装依赖,第一次也需要等待一段时间。
打包完成后,执行:
docker images可以看到前端镜像的体积要小一点:
liuyue@DESKTOP-NVU6CCV MINGW32 ~
$ docker images
REPOSITORY          TAG                 IMAGE ID            CREATED             SIZE
myvue               latest              917d1c69f10f        23 hours ago        539MB
运行前端服务:
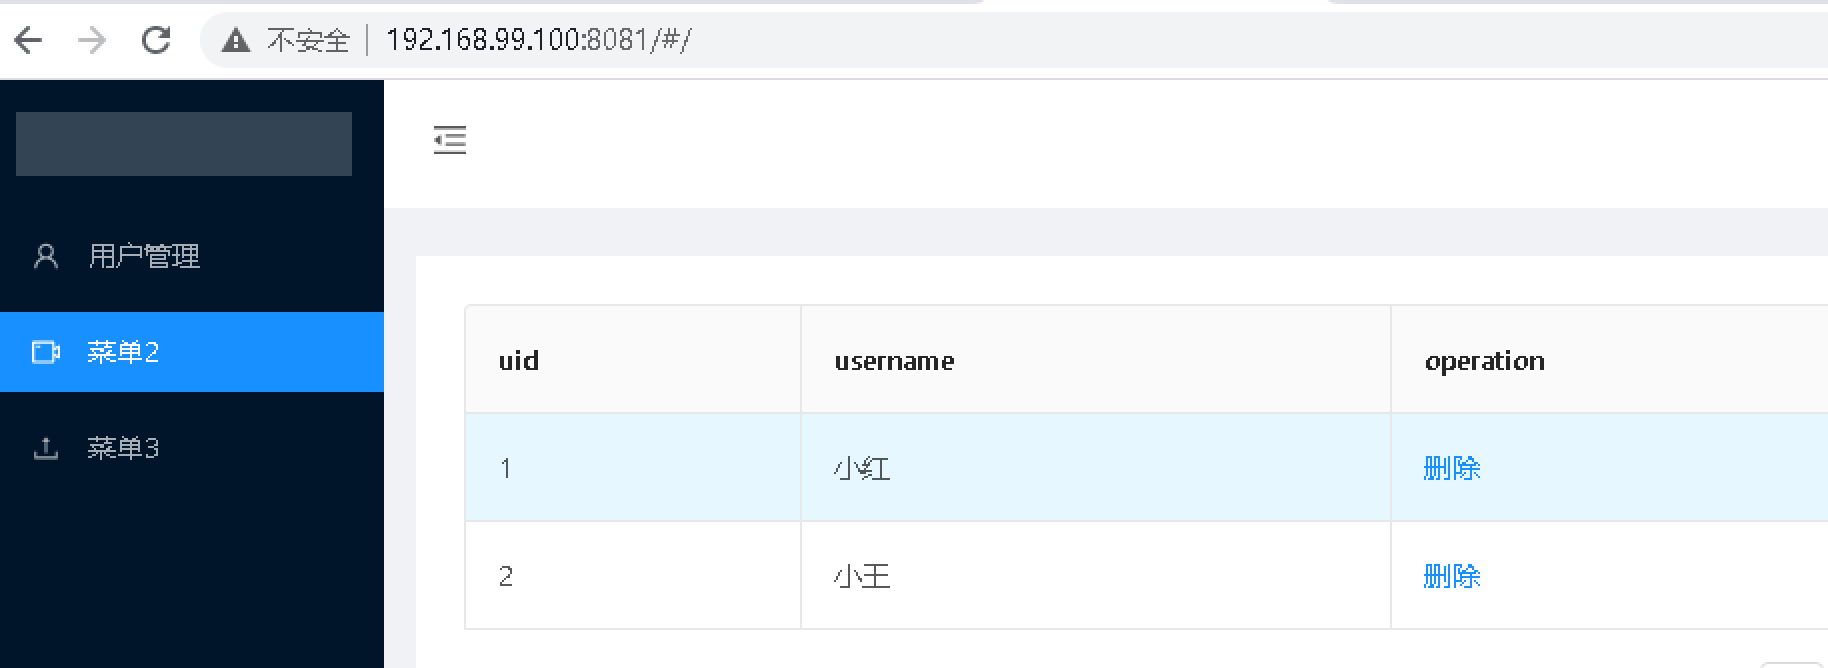
docker run -it --rm -p 8081:8080 myvue同样使用端口映射,这次宿主机使用8081,当然了,如果需要可以根据喜好进行修改。
访问Vue.js服务,http://容器ip:8081
至此,通过Docker的容器技术,我们就将前后端两大服务都分别部署好了,过程并不复杂,但是意义却是里程碑式的,携此两大镜像,左牵Django,右擎Vue.js,如果哪天需要横向扩容,只需短短几分钟,我们就可以在新服务器上做到“拎包入住”,灵活方便。最后奉上项目文件,与君共勉:https://gitee.com/QiHanXiBei/mydjango https://gitee.com/QiHanXiBei/myvue